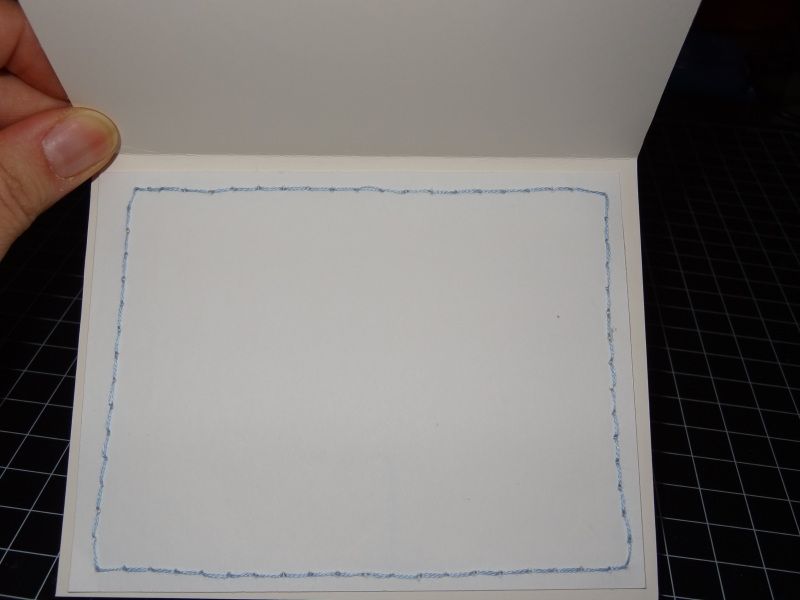
Here's another baby-themed thank you card. There's something about onesies--you can never have enough whether they be actual baby clothes or crafts which feature them. Oh, I also made one for baby's wall, which I'll show as soon as I affix it.
Anyway, inspired by the card feature from the Welcome Baby image on Life's a Party, I used the negative cuts to make this card, strung a clothesline out of twine, and cut clothespins from Straight from the Nest. Cardstock is PaperTrey Ink and assorted bits from my stash. The sentiment is cut using the Cricut Alphabet cartridge which came with my E2. The simple scallop edger is from Stampin Up!
Have a great week!
Home of my crochet, cards, scrapbooking and other papercrafts.
Sunday, July 22, 2012
Saturday, July 21, 2012
You're a Hoot!
I've been hard at work decorating the baby's room, making dozens of birth announcements, and thank you cards. In between, I've made a couple of anytime cards like these. Carolanne at Logan's Crafty Logan's Crafty Momma jumped the Cricut ship and purchased a Silhouette Cameo. As a result, she sold all of her cartridges. I couldn't resist so I bought Hoot and Holler and Life's a Beach.
Today's card features Hoot and Holler and My Pink Stamper's Punnylicious stamp set. Ribbon and cardstock are from Joann's.
Sunday, June 17, 2012
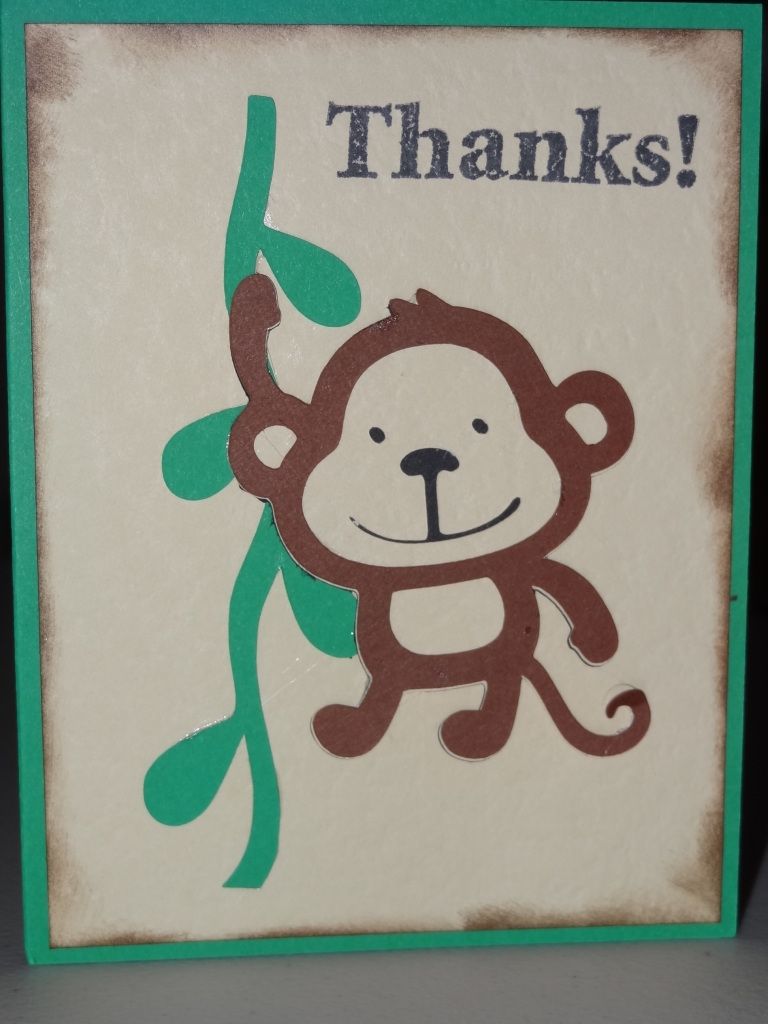
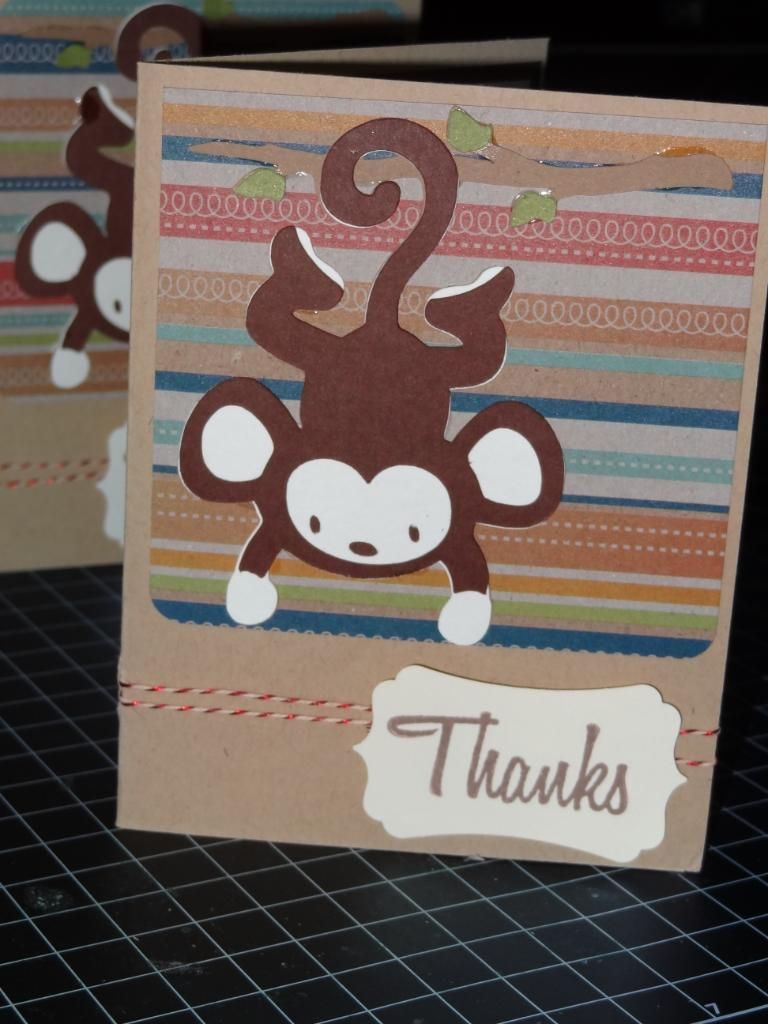
Monkey Thank You Card
Well at 2 am before my trip to Hawaii last week, it occurred to me that I would likely need some thank you notes for my office folks who would assuredly do something for baby. (Sure enough, they threw me a fantastic shower and it was a blast!) Since I hoped to get a little sleep, I turned to my trusty Create a Critter cartridge and whipped up this super simple card.
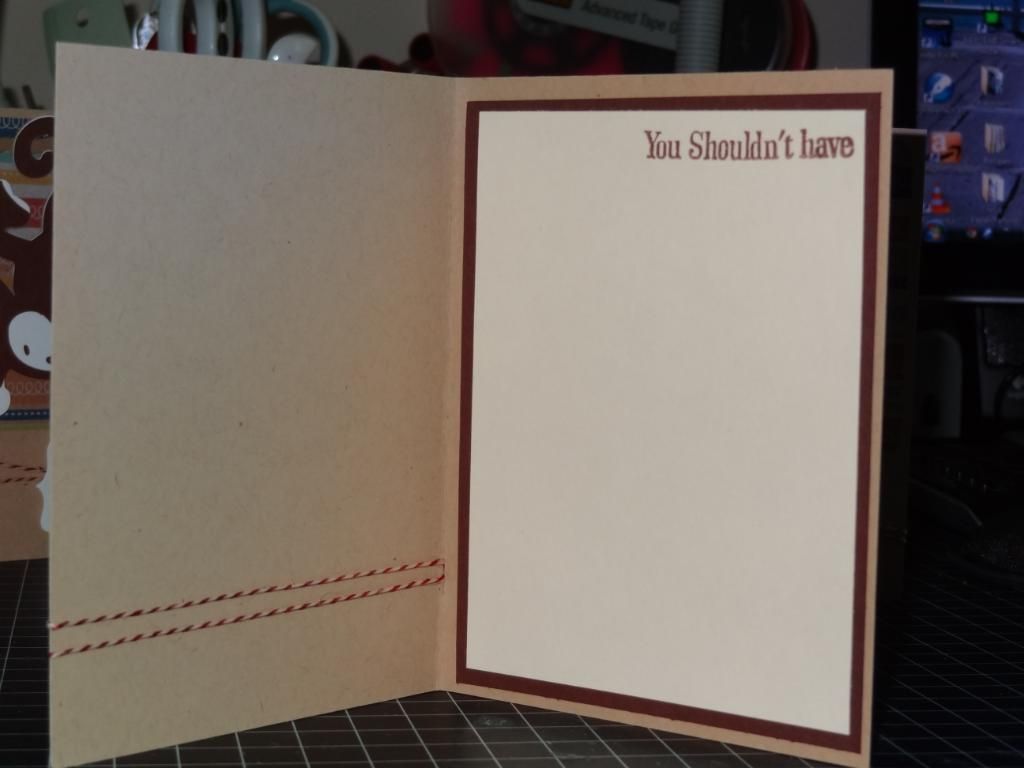
The stamp is from the Inkadinkadoo "Thanks" set that I've been using, cardstock from my stash, and Tim Holtz distress ink in walnut. Here's another look:
Friday, June 15, 2012
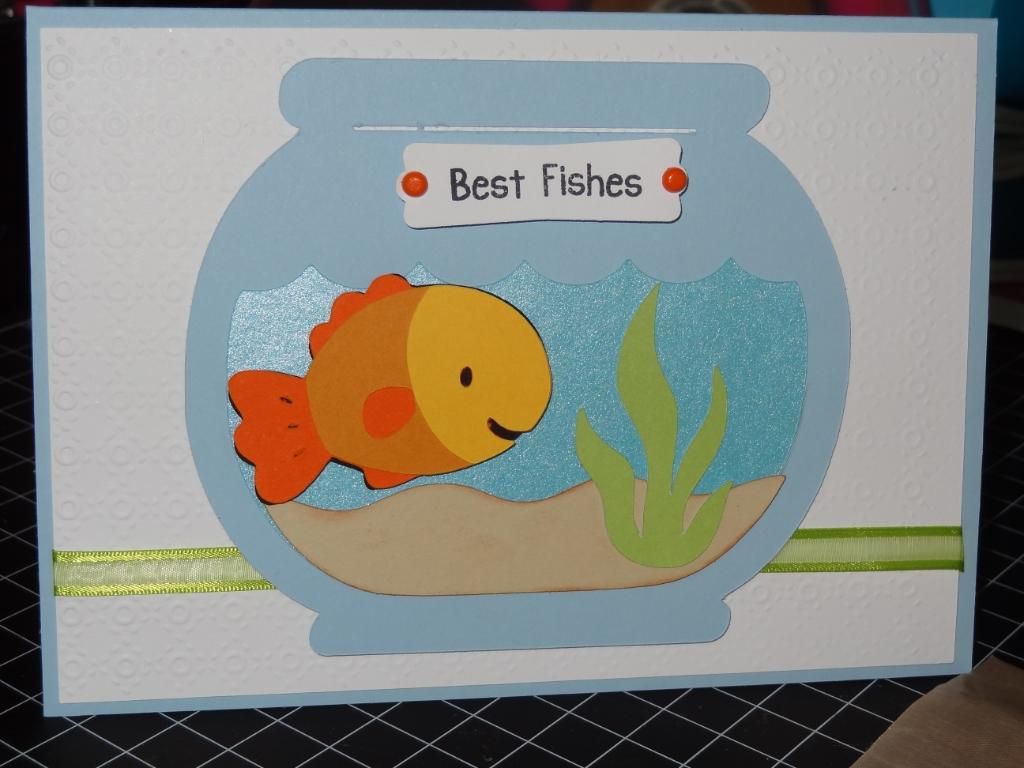
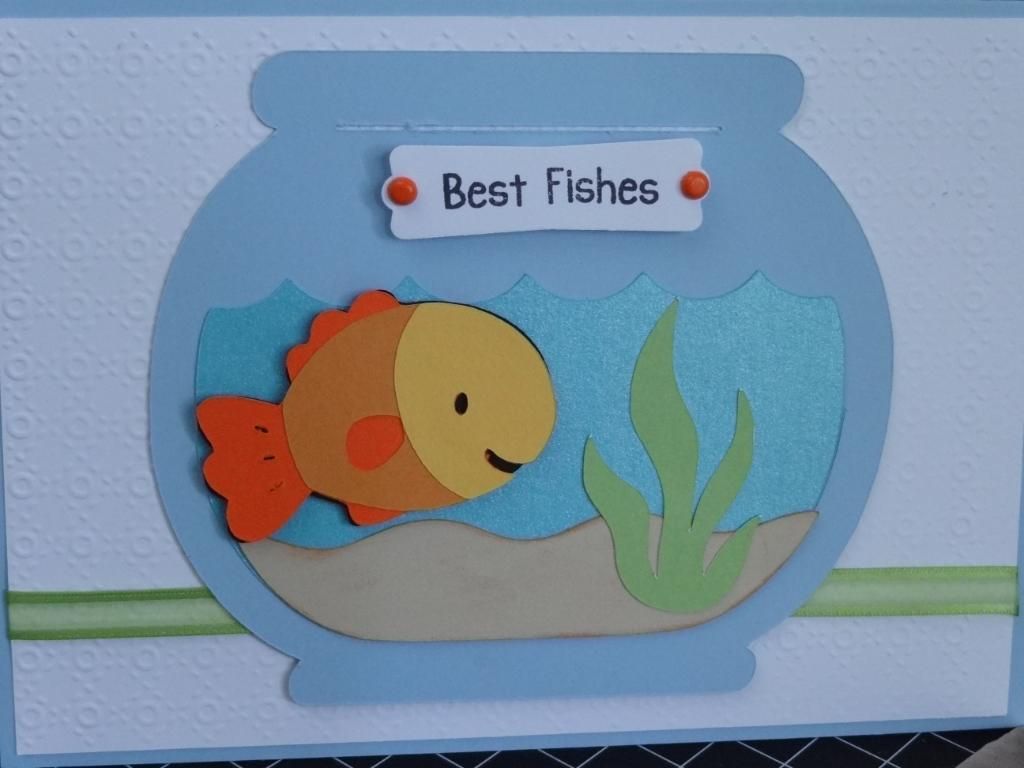
Best Fishes
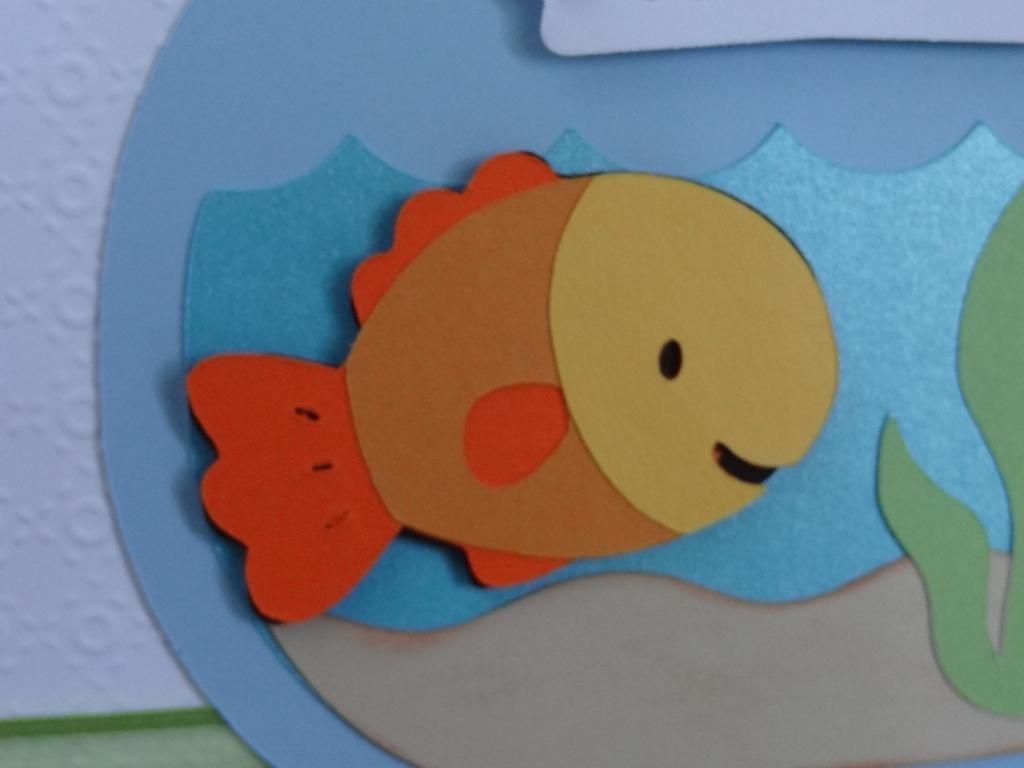
I needed a birthday card for an older adult man. He doesn't golf or like one sport particularly over another so the cliche images are out. Thus, I turned to trusty Create a Critter. Though I'm not entirely happy with the color of the bowl, I'm generally pleased with how this card turned out. It's larger at 5 x 7", which allowed for a larger goldfish.
Materials
Papertrey Ink cardstock
Create a Critter
My Pink Stamper "More Punnylicious"
Cuttlebug Embossing Folder
EK Success Punch
Misc ribbon
Materials
Papertrey Ink cardstock
Create a Critter
My Pink Stamper "More Punnylicious"
Cuttlebug Embossing Folder
EK Success Punch
Misc ribbon
Thursday, June 14, 2012
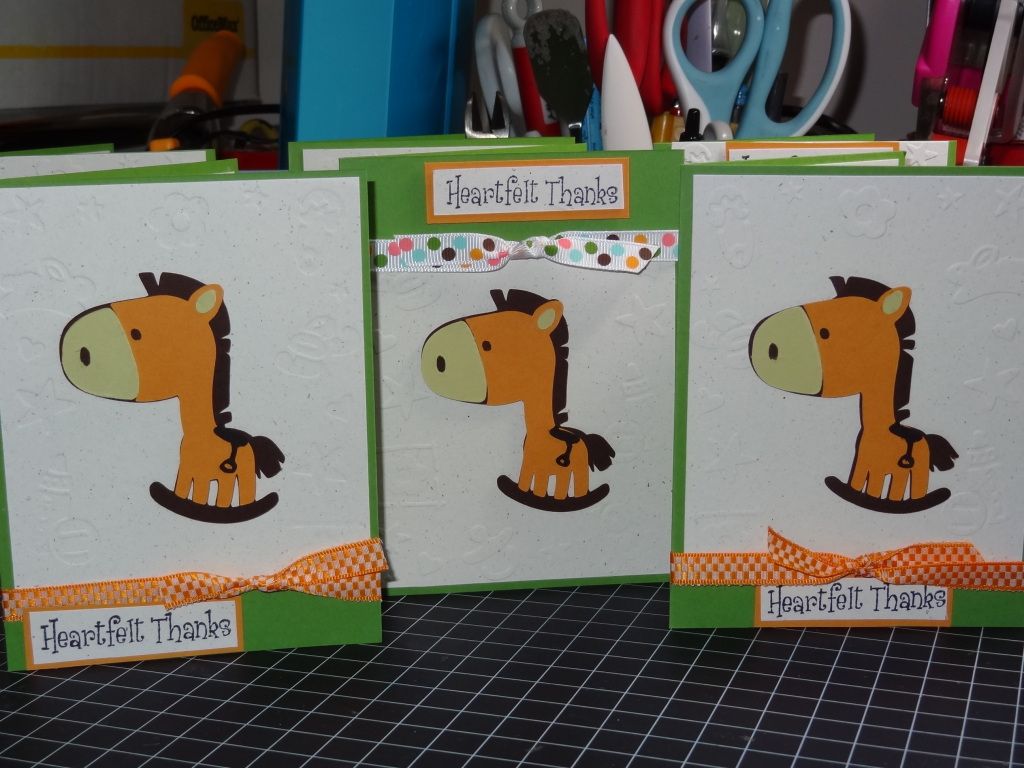
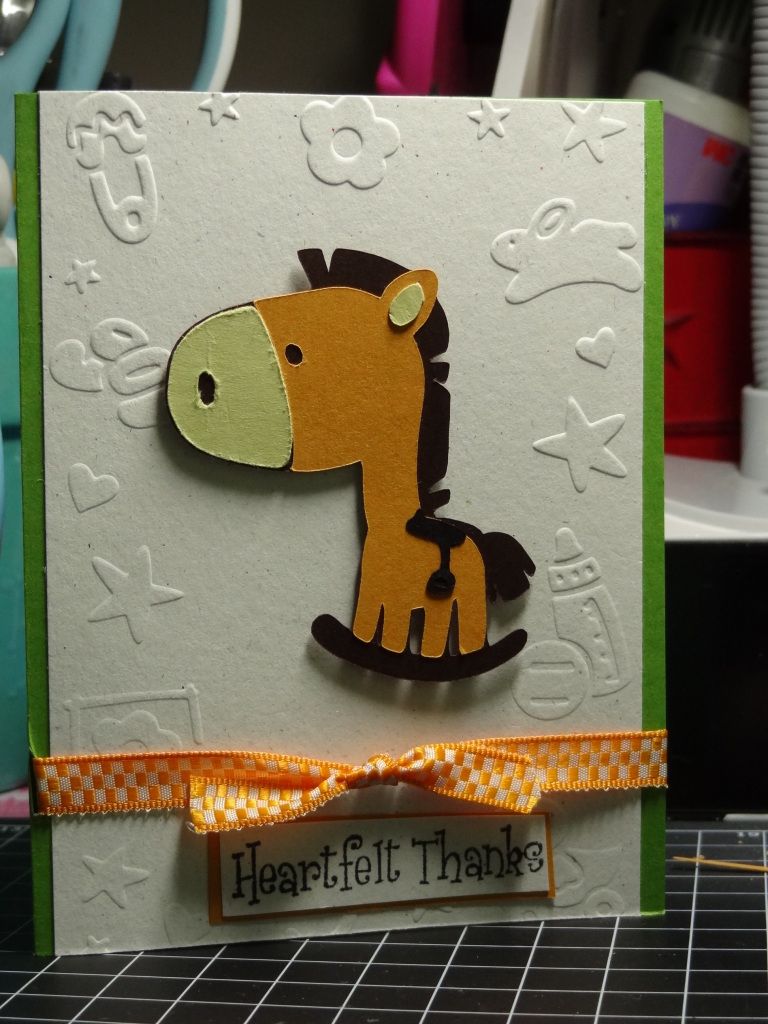
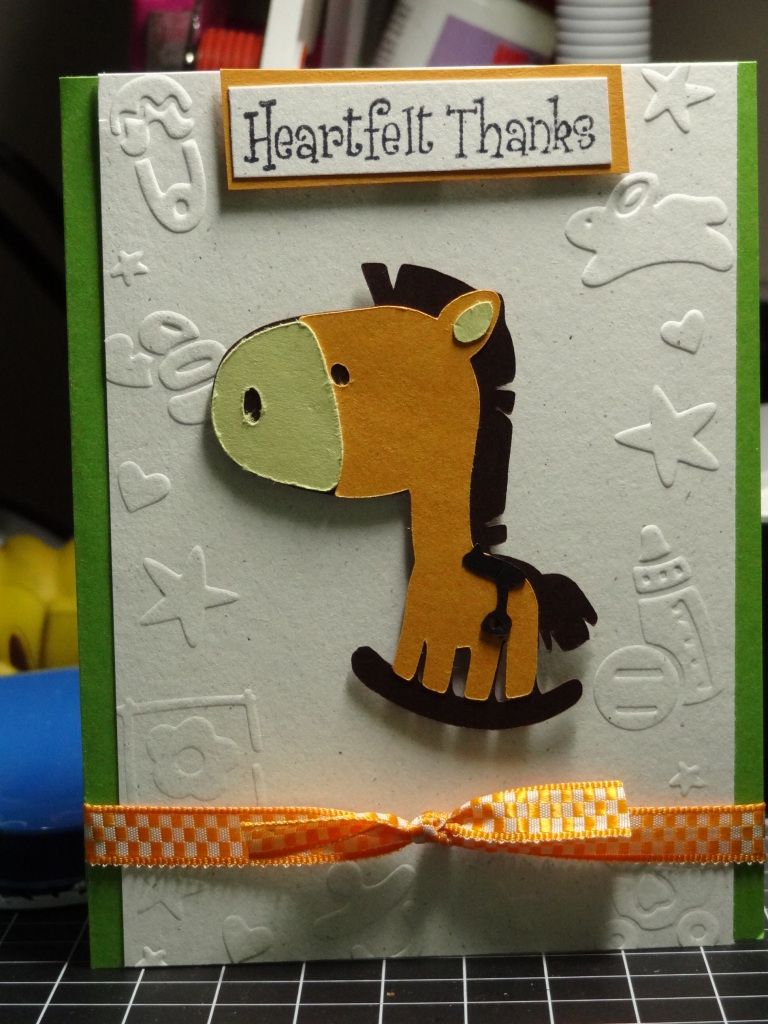
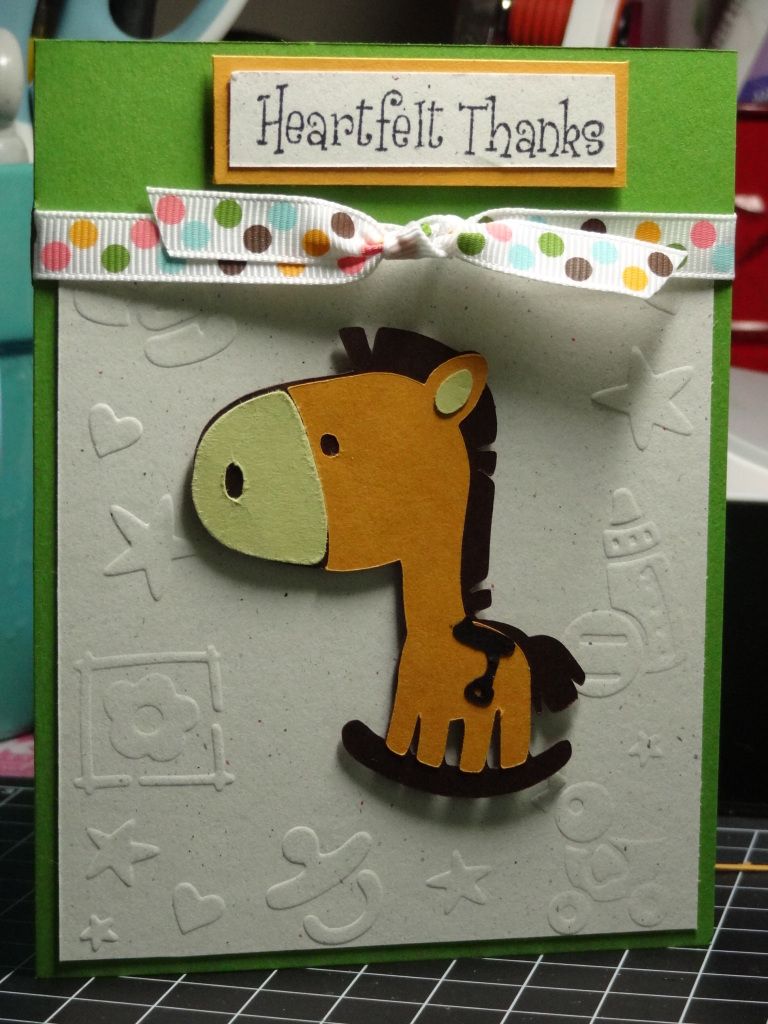
Giraffe Thank You Card
Here's another thank you card I made for my baby shower. After the froggy card, I think this one is my favorite. I used the B is for Boy Cricut cartridge and a baby border embossing folder by Darice. The main reason there are three different variations of this card is because I had trouble using the embossing folder on any other size than a 4 x 5.5"--the border didn't really seem to be designed to be embossed on a smaller scale or partial layer, though I tried. The stamps are from the Inkadinkadoo "Thanks" set that I've been using so often and the ribbon and paper are from my stash.
Wednesday, June 13, 2012
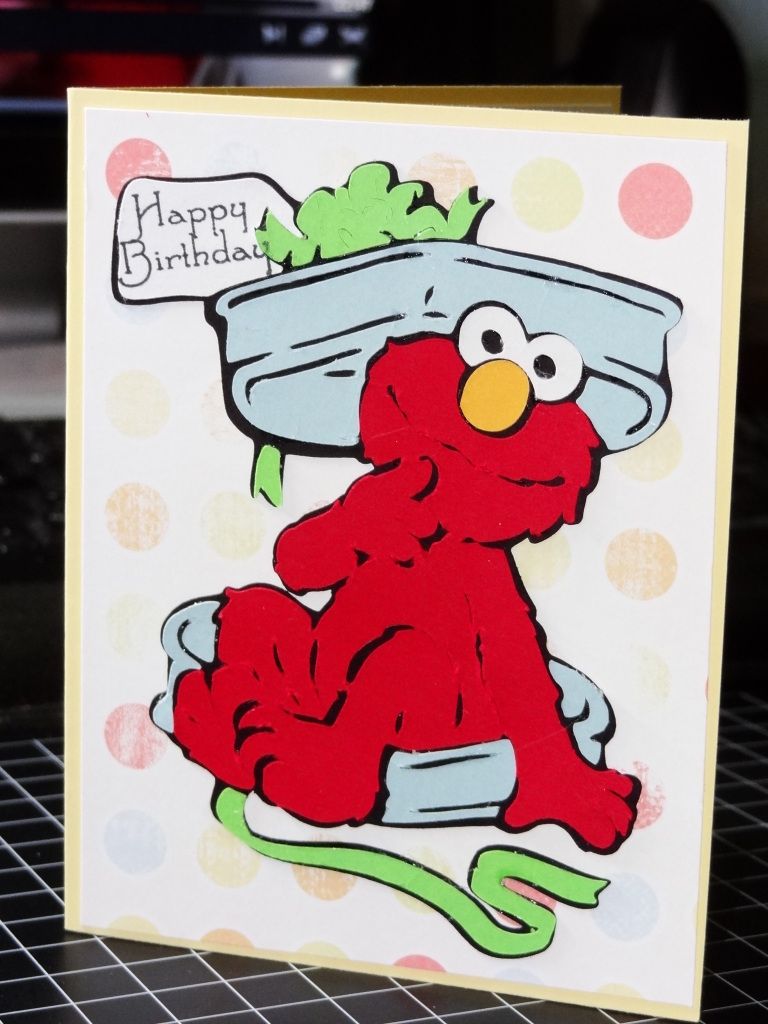
Elmo Birthday Card
Last year, I made my husband an Oscar the Grouch card for his birthday since he mentioned that was his favorite character as a child. When this year rolled around, I had just received Elmo & Friends Holiday cartridge and couldn't wait to try it out. I've always rather partial to Elmo, although this cartridge has some really cute Cookie Monster and Big Bird images, as well.
This is actually a Valentine's Day image, but I decided to stamp Happy Birthday on the tag. My husband made a bit of fun of the card saying that it looks like a potty. Oh well, I like it, particularly Elmo's mischievous expression. That's what counts, right? One thing about this cartridge is that certain images, though this one isn't too bad, suffer from the same major flaw as the other licensed character cartridges--too many small pieces or unnecessary outlining. If you use tweezers and have a little patience, you should be okay but otherwise it may drive you crazy.
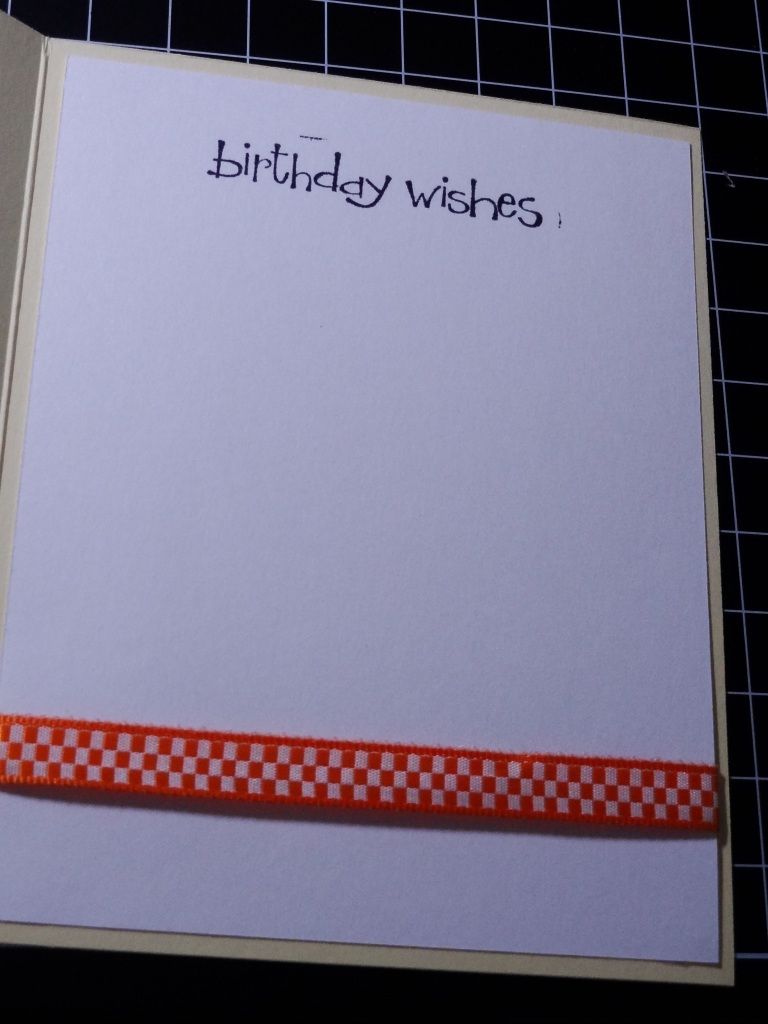
Most of the supplies are miscellaneous from my stash. The interior stamp is from an Stampin Up stamp collection and the interior is a partial stamp using a masking technique from My Pink Stamper's Even More Punny-licious set.
Here's the card:
Sunday, May 27, 2012
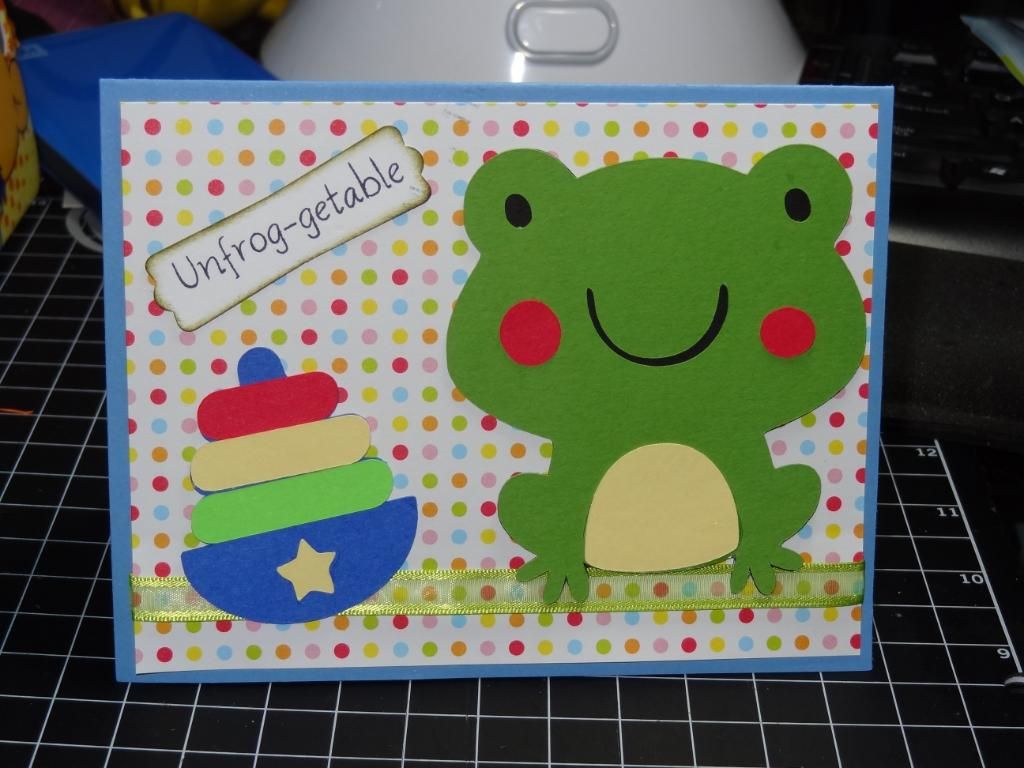
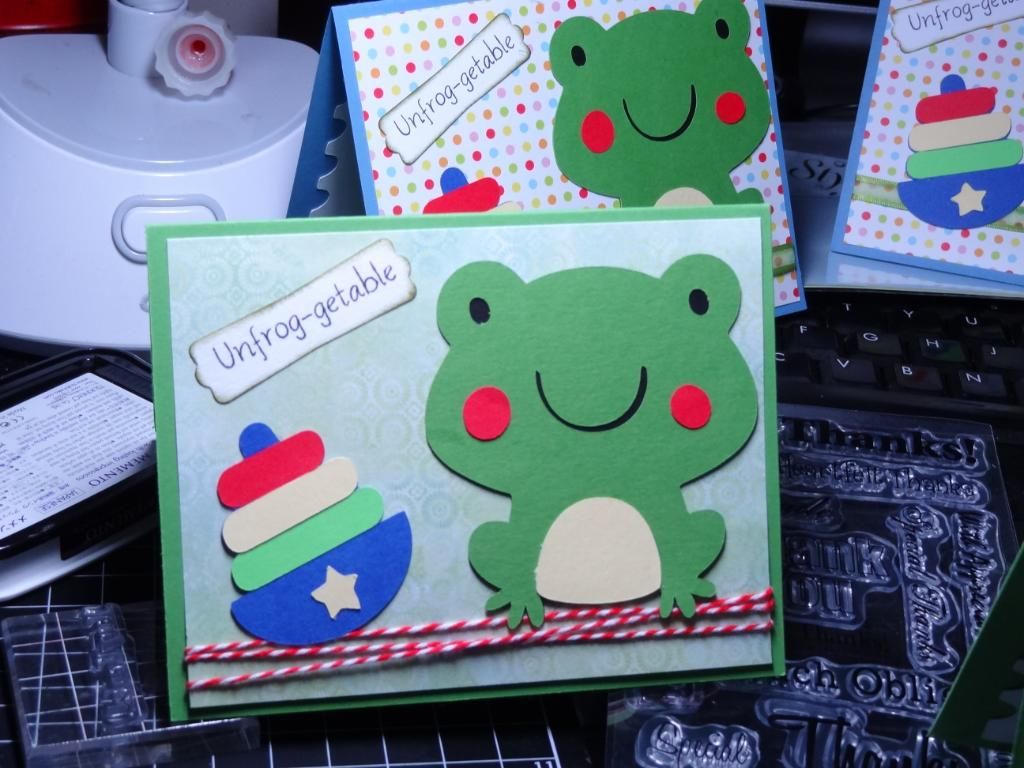
Unfrog-getable
I think this card is my favorite of all the thank you cards I've made thus far. As the first image on the Create a Critter cartridge, this little froggy has a special place in my heart. I also fondly remember this classic toy from my own childhood--not so much stacking the rings, but chewing on them. Nonetheless, it is a toy that every child has to have (hopefully the plastic will be BPA free ;). I used some miscellaneous paper from my stash. I think the green is from an old DCWV mat stack and I have no idea where the dots came from, though I wish I had more. I neglected to take a picture of the inside, but it says "Many Thanks" and has a mat with edging like a postage stamp also from the B is for Boy cartridge.
Materials:
Papertrey Ink cardstock, misc paper
Create a Critter and B is for Boy cartridges
My Pink Stamper "More Punny-licious"
Inkadinkadoo "Thanks"
Misc ribbon
Tim Holtz Distress Ink "Forest Moss"
EK Success punch
Materials:
Papertrey Ink cardstock, misc paper
Create a Critter and B is for Boy cartridges
My Pink Stamper "More Punny-licious"
Inkadinkadoo "Thanks"
Misc ribbon
Tim Holtz Distress Ink "Forest Moss"
EK Success punch
Saturday, May 26, 2012
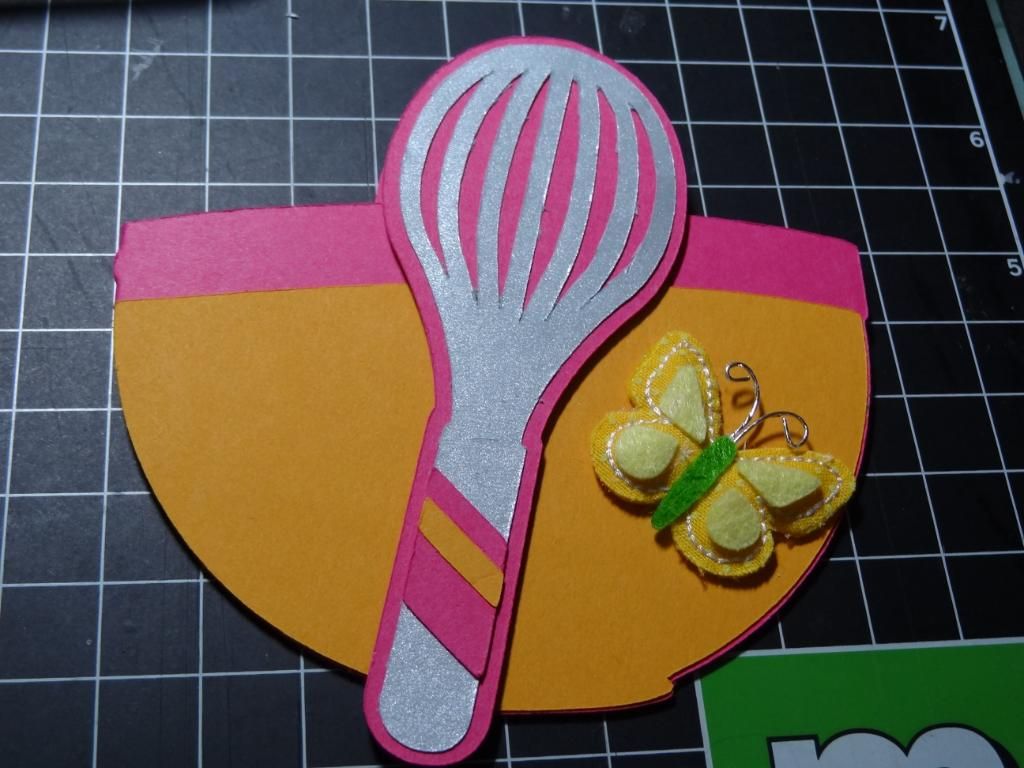
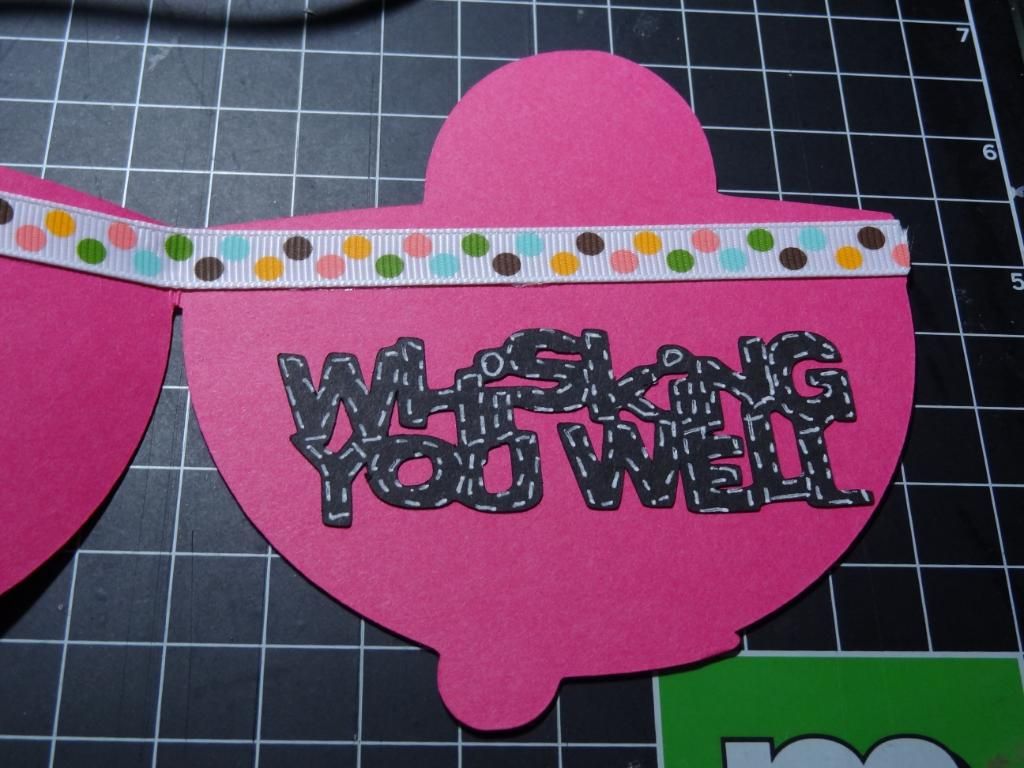
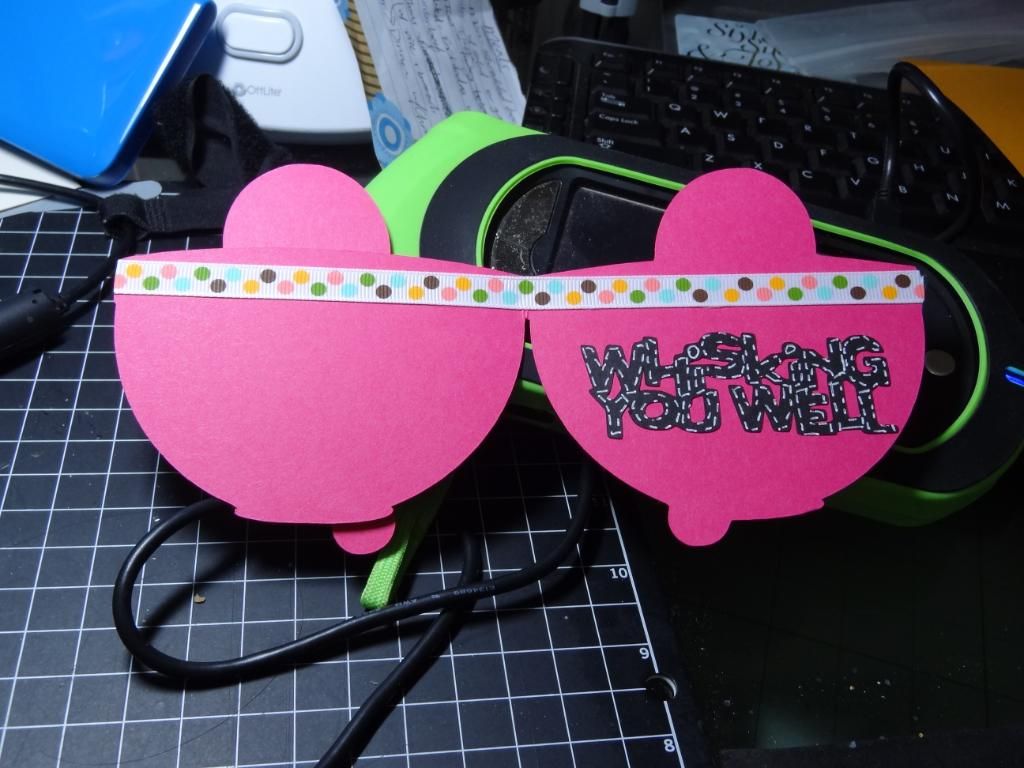
Whisking You Well Card
Have you see the new Wild Card 2 cartridge? It's awesome. I don't have the first Wild Card cartridge, but this one combines the best of a number of cartridges. It also reminds me of the Just a Note cartridge which is only available (to my knowledge) pre-installed on the E2. Only a few are trifold cards, but tons of shape cards and fun, every day sayings. I made this card for someone who was feeling under the weather. She loves to cook, so hopefully it hit the right note.
Once it was assembled, I thought the front looked a little bare. (It's possible that the sentiment was supposed to go on the front, but it was too large in my opinion.) Thus, I had this cute little puffy sticker--I think they're called "felties" that matched the colors used perfectly.
As of this posting, the Gypsy hasn't been undated to play with Wild Card. Thus, some of the sizing might not be perfect. Just exercise some patience and use trial and error.
Friday, May 25, 2012
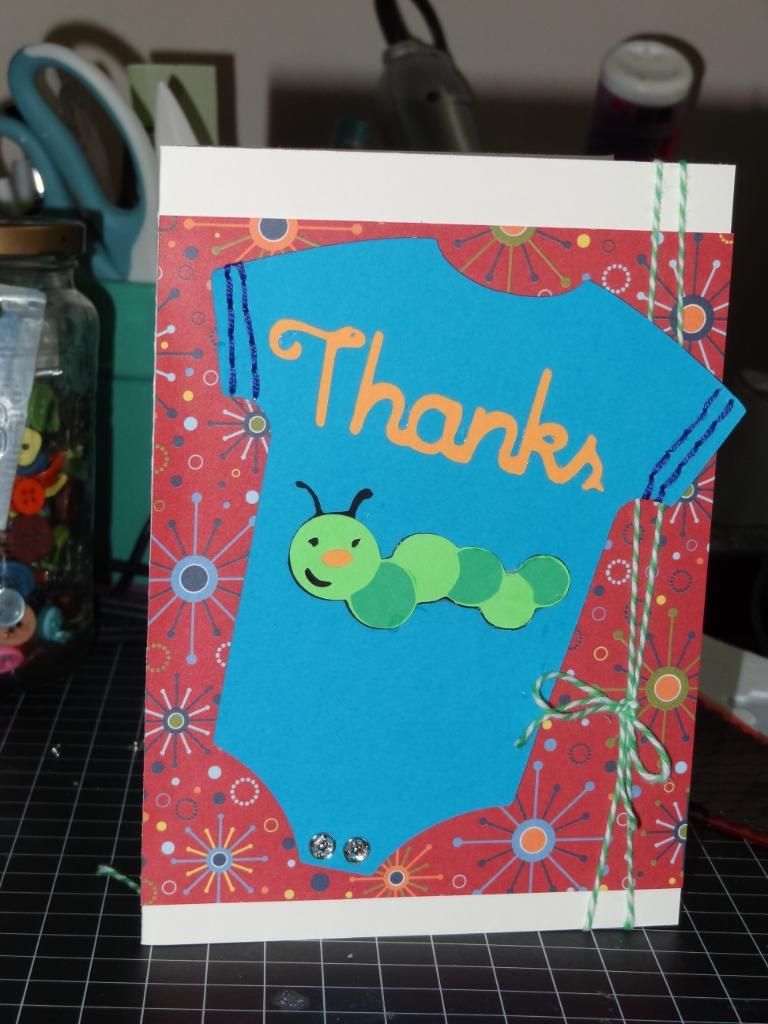
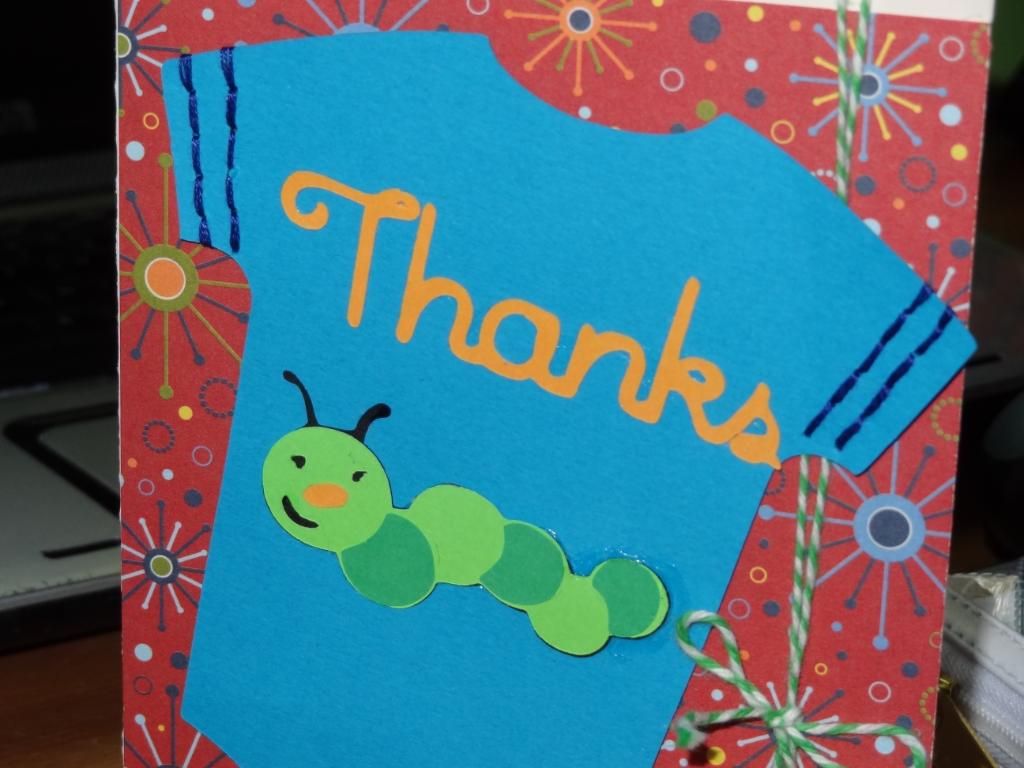
Caterpillar Onsie
This adorable caterpillar is found on the 9 Months cartridge. Who knew when I bought the cartridge last year for the cute baby images, that I would actually likely use it to scrap about my own pregnancy? (That album is still in progress, but I'm excited to use more cuts from this cartridge.) I love onesie cards, which is one of the reasons I'm thrilled that Provocraft included a onesie image in their free Cricut Craft Room Basics images. If you don't use the Cricut Craft Room which is a program similar to Design Studio or using your Gypsy (except it's free and requires an internet connection), several cartridges have onesies for you to choose from, e.g. B is for Boy, New Arrival and Wrap it Up, to name a few. I don't remember which font I used for this card but I think it might be from Baby Steps. You can weld letters (and shapes) together using your Gypsy or the Cricut Craft Room. I was also excited to use my Sew Easy to add a little trim to the sleeves.
Materials:
Papertrey Ink cardstock
Bo Bunny Blast Off paper
9 Months, Cricut Craft Room Basics cartridges
Twine
Snaps from the sewing aisle
Sew Easy
Materials:
Papertrey Ink cardstock
Bo Bunny Blast Off paper
9 Months, Cricut Craft Room Basics cartridges
Twine
Snaps from the sewing aisle
Sew Easy
Thursday, May 24, 2012
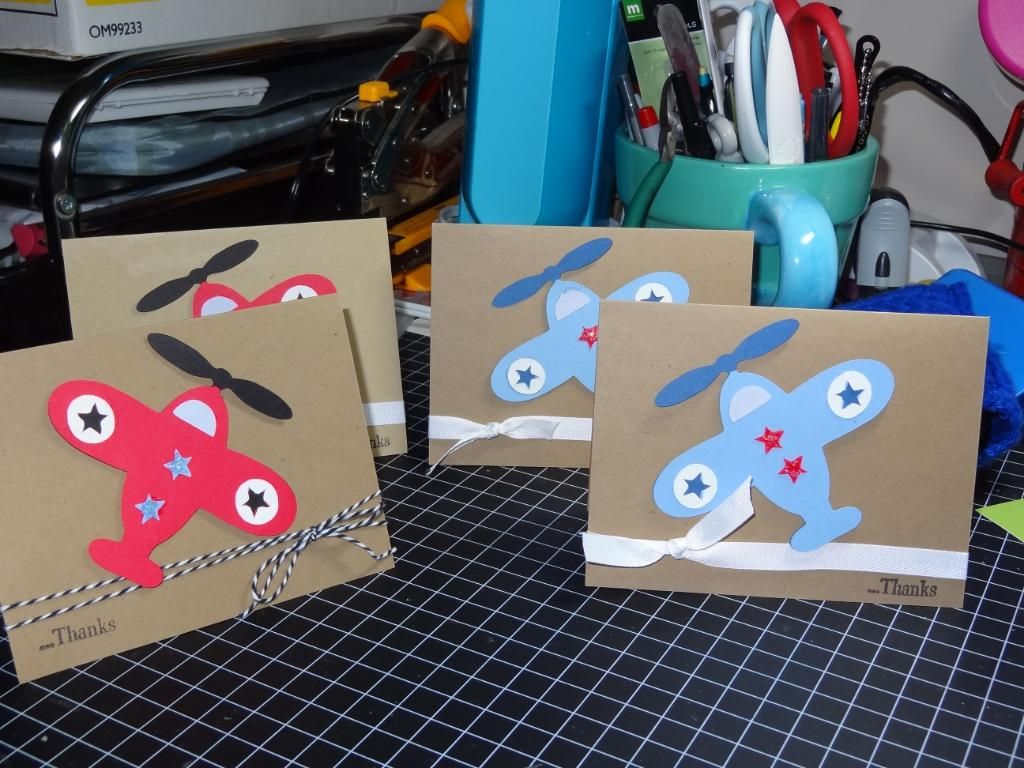
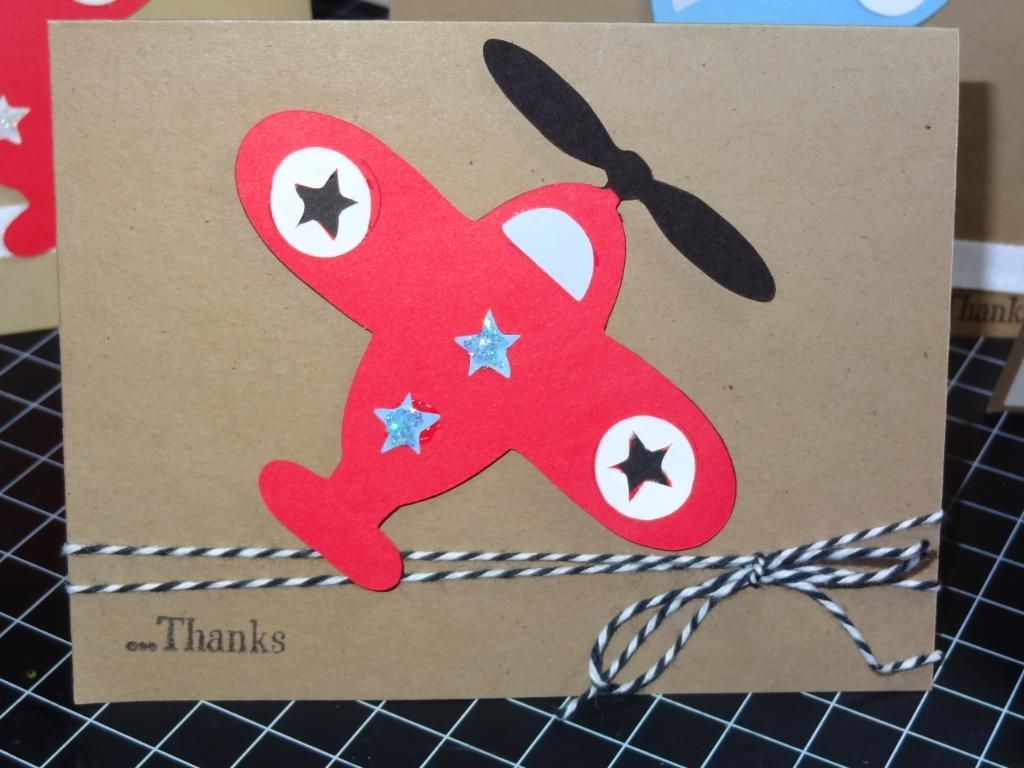
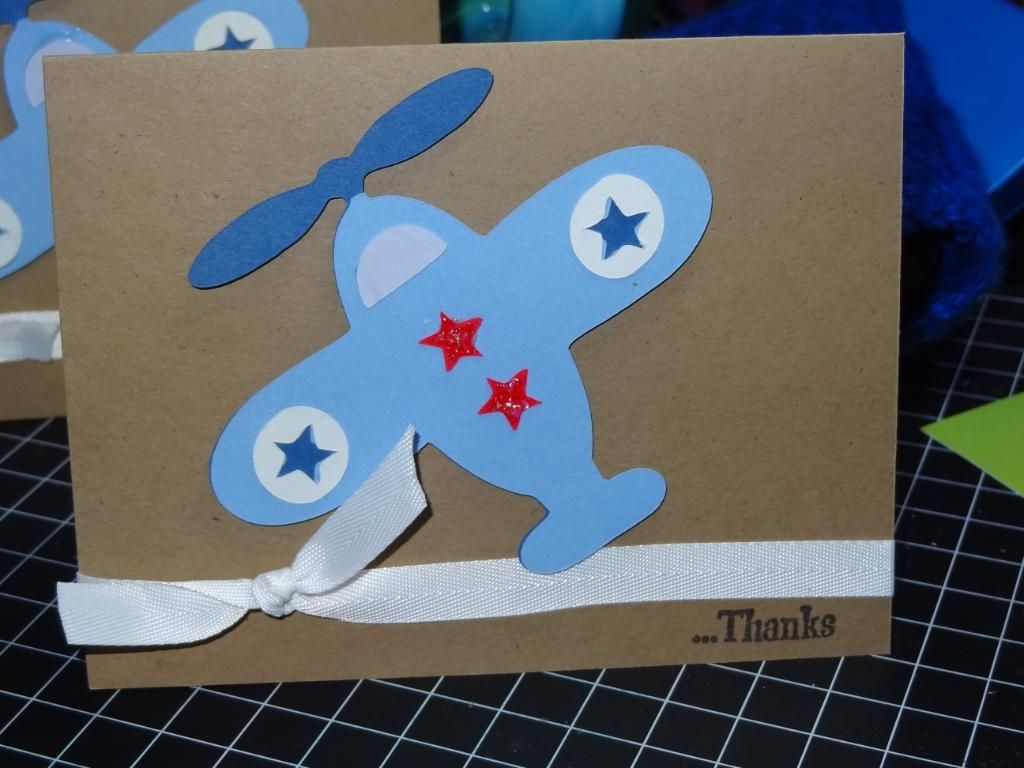
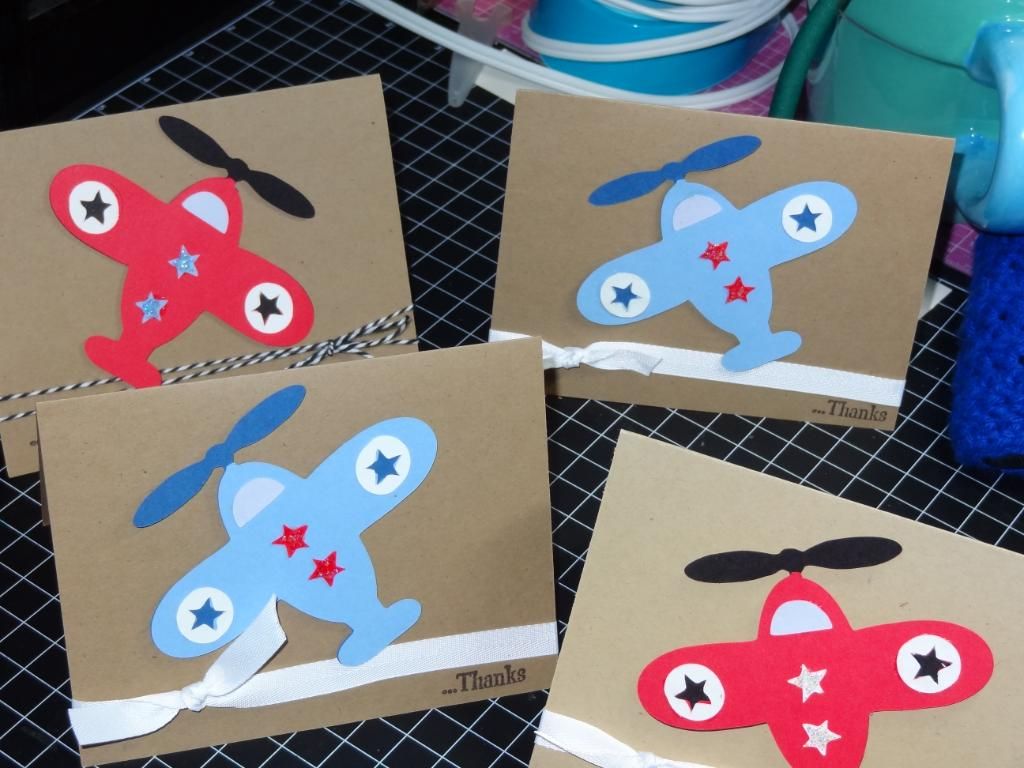
Toy Airplane Thank You Card
I absolutely love the B is for Boy Cricut Lite Cartridge. It's definitely not just for boys and has some great toys on it. I was hoping that I had a sentiment along the lines of "flying by the say thanks" or something like that, but I didn't. However, I love the plane and had to use this image.
Materials:
Kraft cardstock
B is for Boy Cricut Cartridge
Inkadinkadoo "Thanks"
Twine
Stickles
Materials:
Kraft cardstock
B is for Boy Cricut Cartridge
Inkadinkadoo "Thanks"
Twine
Stickles
Wednesday, May 23, 2012
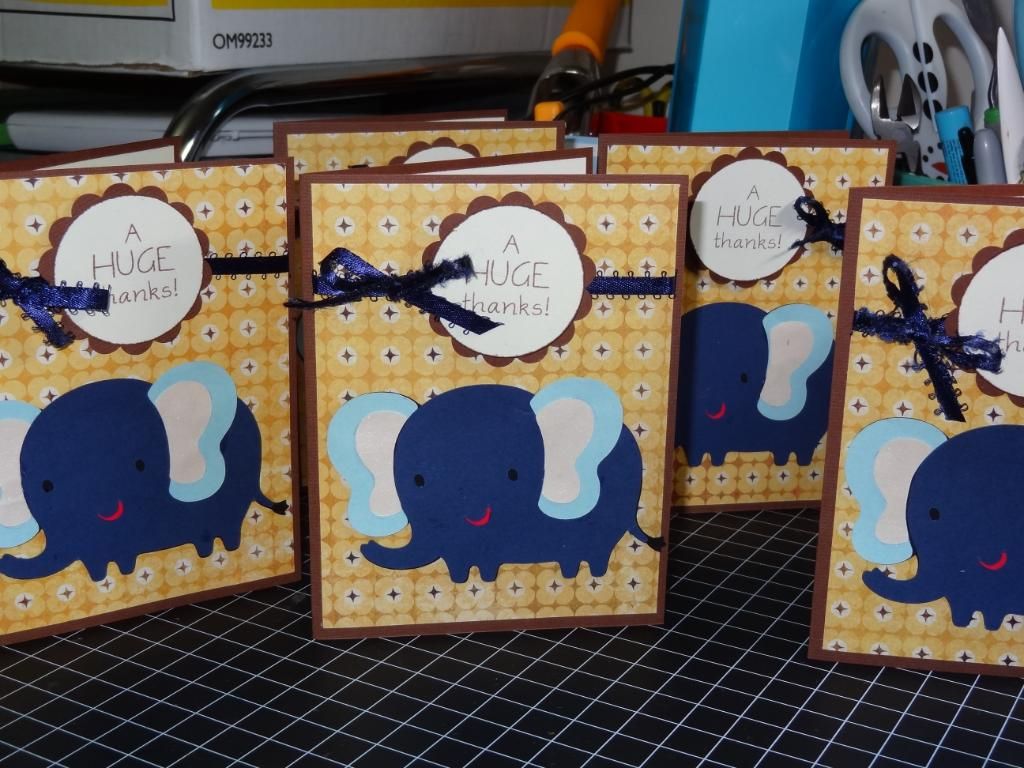
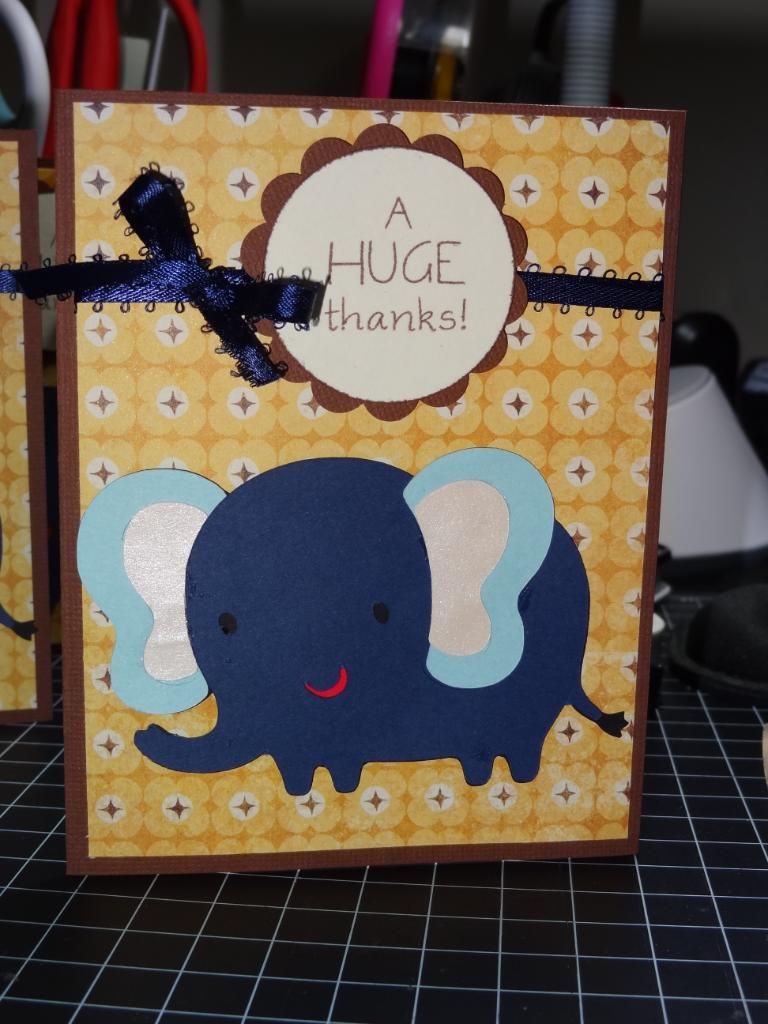
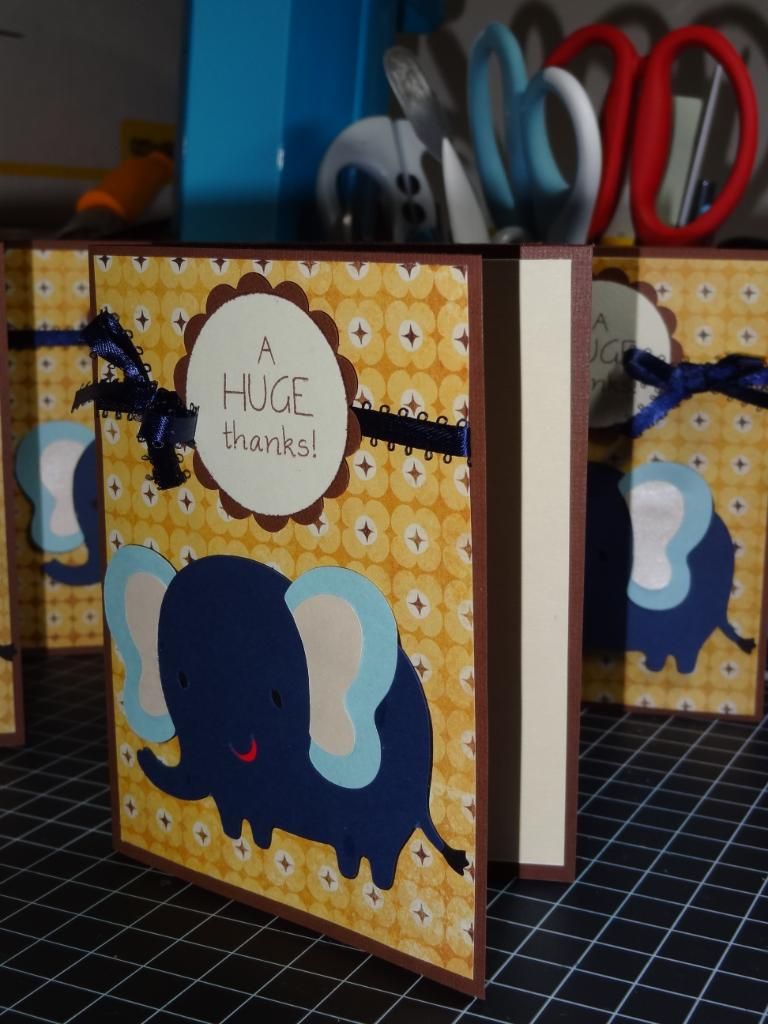
A Huge Thanks
As I make more thank you cards for our baby shower, I'm really turning to what's probably described as a classic cartridge--Create a Critter. Incidentally, I'm decorating the baby's room mostly in animals from this cartridge, as well. Since I haven't decided whether I like purple anymore, let alone whether it falls in the "girl" or "boy" category of the universally accepted baby color scheme,and didn't have a gray pallet, I opted to go with blues. (Note: In my opinion, blues, greens, oranges, and yellows are gender-neutral. Thus, the absence of dresses is pretty much the only thing that differentiates the wardrobe I've purchased for my baby boy versus what I would have bought for a girl.) Anyway, I like how this one turned out, even though I thought Mr. Elephant was a little dark at first. My goal is to make at least six of each card to build my stash quickly. Here's the card:
Materials:
Recollections paper and cardstock
Papertrey Ink cardstock
Create a Critter cartridge
EK Success 2" Scallop Punch
Fiskars 1 3/4" Circle Punch
My Pink Stamper "Even More Punnylicious"
Materials:
Recollections paper and cardstock
Papertrey Ink cardstock
Create a Critter cartridge
EK Success 2" Scallop Punch
Fiskars 1 3/4" Circle Punch
My Pink Stamper "Even More Punnylicious"
Tuesday, May 22, 2012
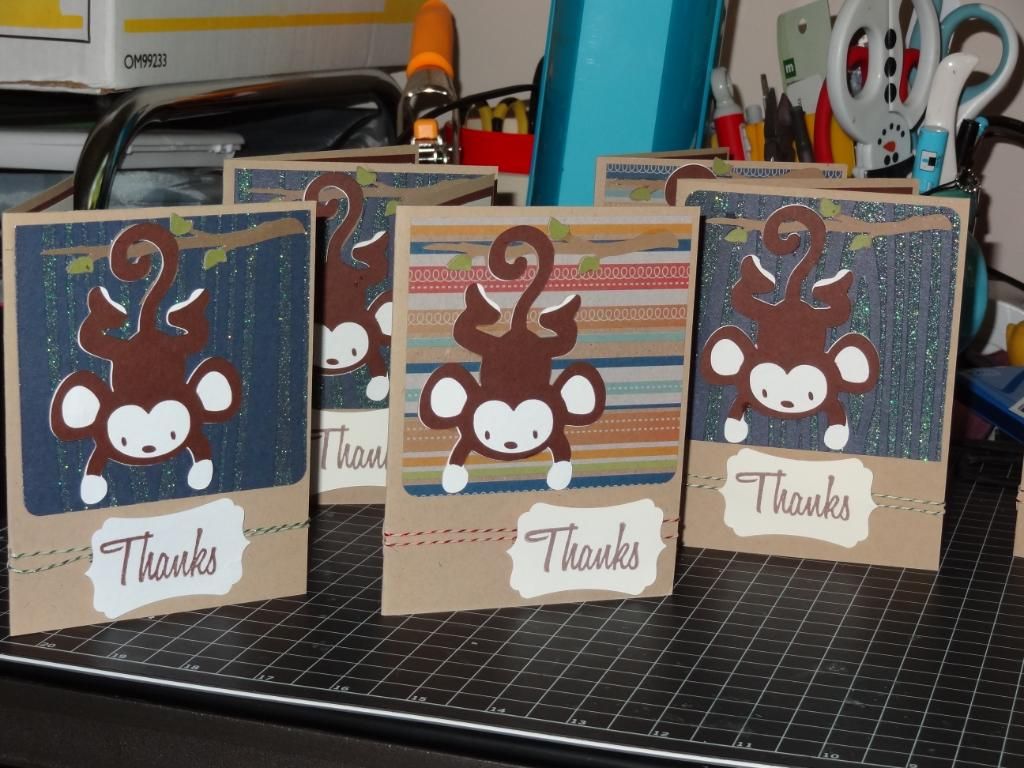
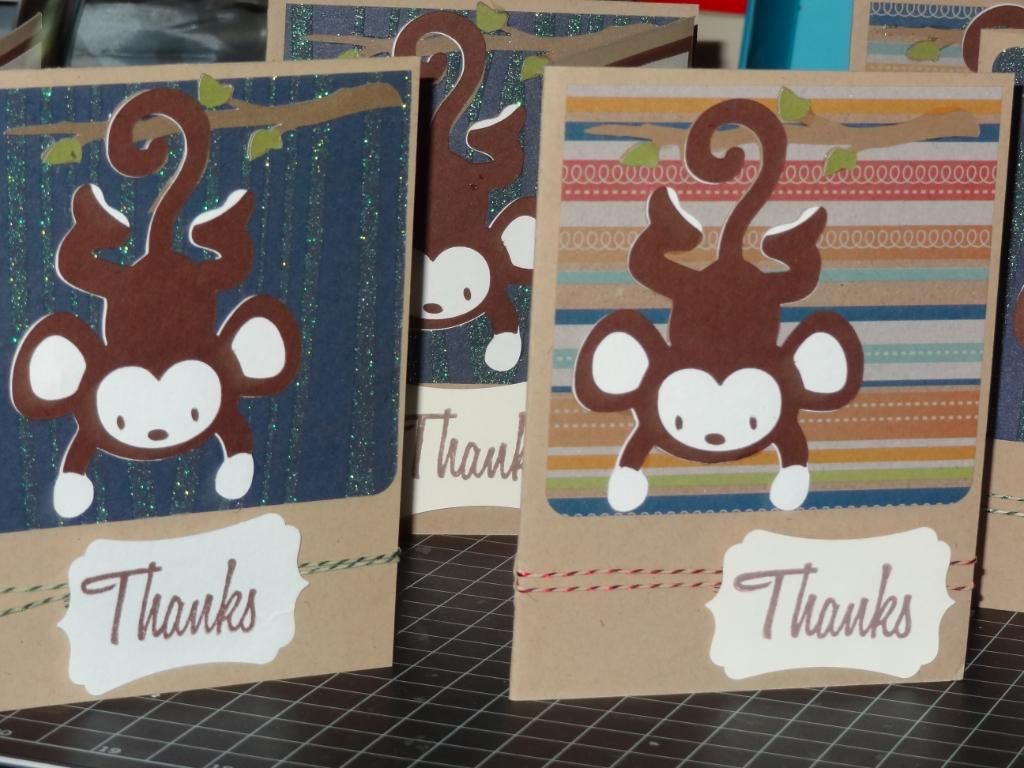
Thank You Monkey Card
With a new baby on the way, I'm ramping up my thank you card production. So far I've made four different designs. However, given my attention span limited, I've only made 2-6 of each design. Thus, I expect I have many more to make (which isn't a bad thing). Today's card is a standard A2 sized card.
Details:
Wrap it Up Cricut Cartridge
Papertrey Ink cardstock
EK Success punch
twine
Inkadinkadoo "Thanks" - note, these are crap if you've been using the "high quality" photopolymer stamps sold by bloggers. However, expect to see them a lot as I bought them expressly to make all my thank you cards.
Details:
Wrap it Up Cricut Cartridge
Papertrey Ink cardstock
EK Success punch
twine
Inkadinkadoo "Thanks" - note, these are crap if you've been using the "high quality" photopolymer stamps sold by bloggers. However, expect to see them a lot as I bought them expressly to make all my thank you cards.
Friday, May 4, 2012
Kathy's Cozies
Kathy of Kathy's Cozies has long been the queen of Cricut machine covers. She makes them for Cricut Expressions (both the original and the E2), Cricut Imagines, Cuttlebugs, and even for other non-Provocraft machines. Last year, my Cricut machine collection exploded from a little Cricut Create to two Expressions, a Cricut Cake Mini, and an Imagine. Though I had heard wonderful things about Kathy's Cozies, I just wasn't ready to take the plunge as you pay for her quality. Now that we've moved for the third time in 2 years, I'm finally ready to start my collection.
At her Etsy store, you select the type of cover you need, then follow a link in her product description to see her fabric collection, which is quite extensive, and put your selection in the message to seller box before checkout. It takes about 1-2 weeks for her to make your cozy and pop it in the mail. However, she communicated me to let me know my first choice of fabric was available within a day or two, then sent me another message that it was in the mail. Very nice person to work with.
Here's my first cozy for my Cricut E2. I think it's absolutely beautiful!
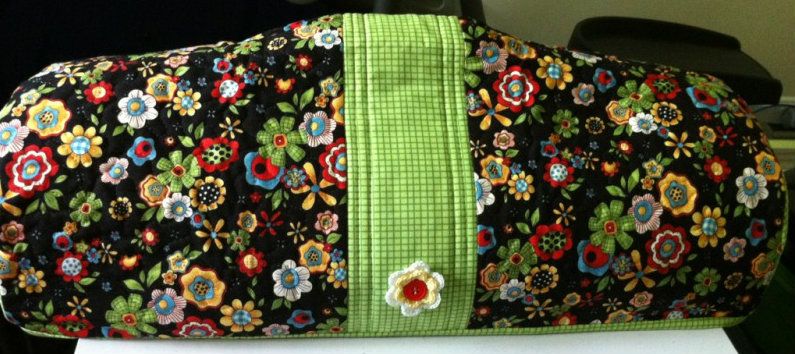
Here's a closeup of the detail:
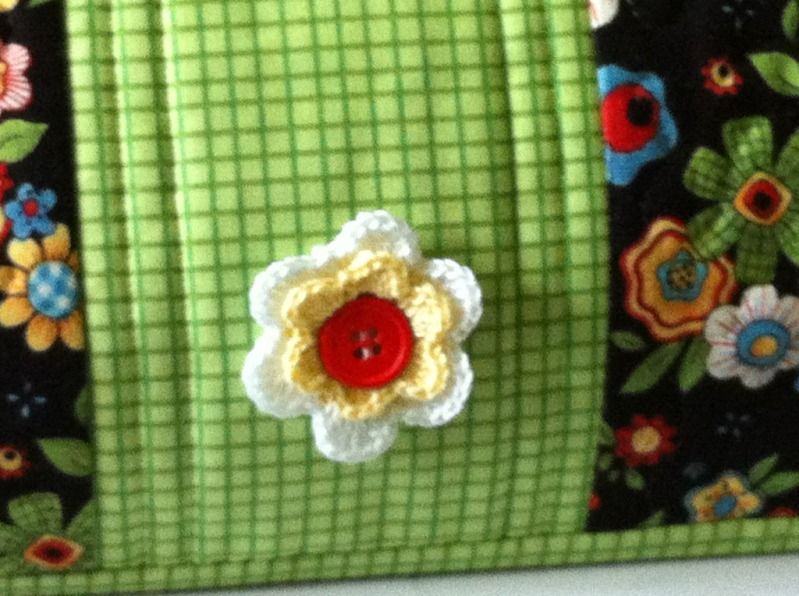
I picked the main fabric and asked Kathy to choose the trim. How she knew I'd love this checked lime green, I don't know. But it's absolutely perfect. I especially love the crochet daisy. Though I don't sew or quilt, the cover looks sturdily put together and will definitely keep my Cricut E2 nice and clean.
Now I just have to save up a bit so I can order covers for my other machines! (I understand from other crafters, that she'll do custom work and put together matching set at an affordable price, but I think I'll just take my time and order the rest when I feel the urge.)
Thanks so much Kathy!
Tuesday, April 10, 2012
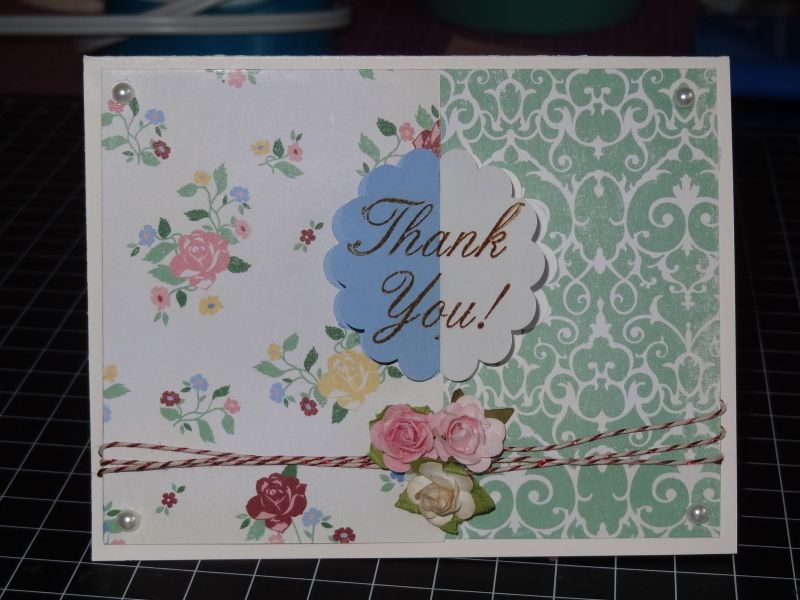
Spring Thank You Card
Happy Spring! Sorry for the long delay. Life's been busy, included an unexpected move. However, I needed a quick thank you card for a distant relative of my husband. I was also inspired by this Youtube video by Kristina Werner. In the video, she challenges herself to make a card from start to finish in 5 minutes. Well, she fails to make the card in 5 minutes, but succeeds in about 8 minutes. I didn't even come close.
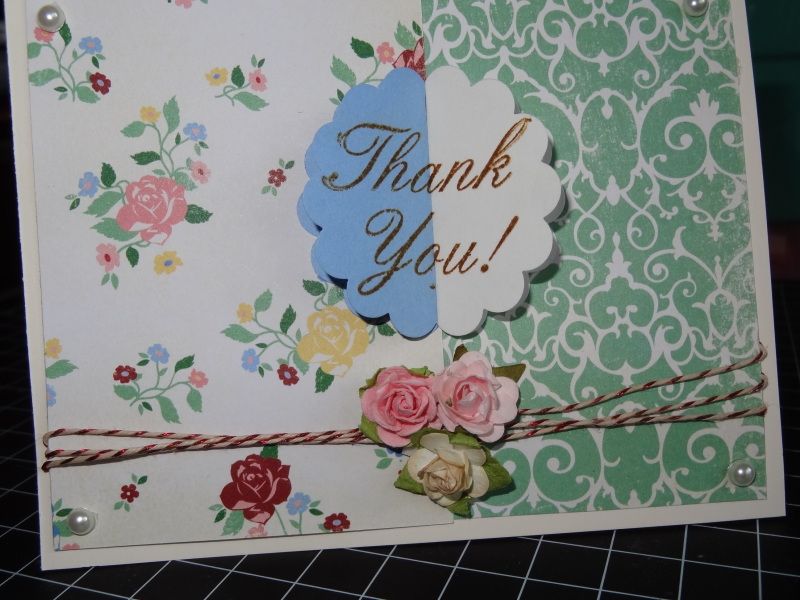
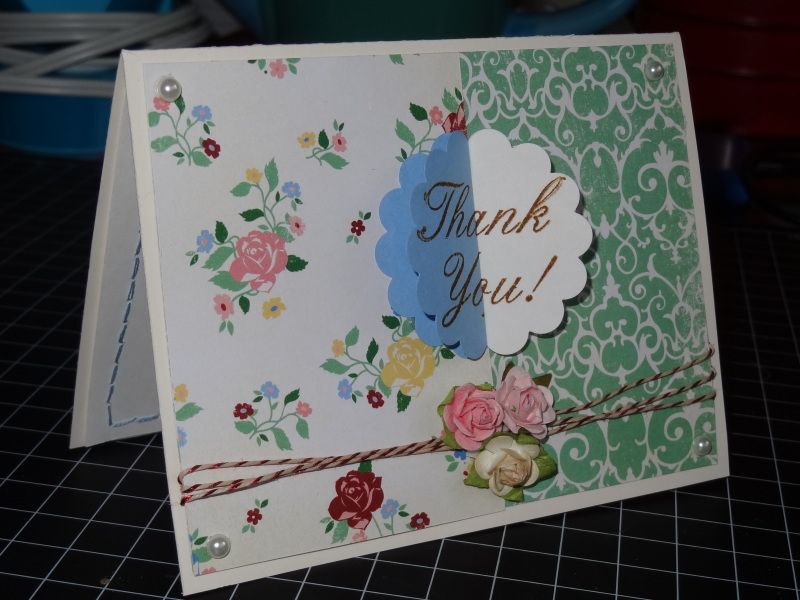
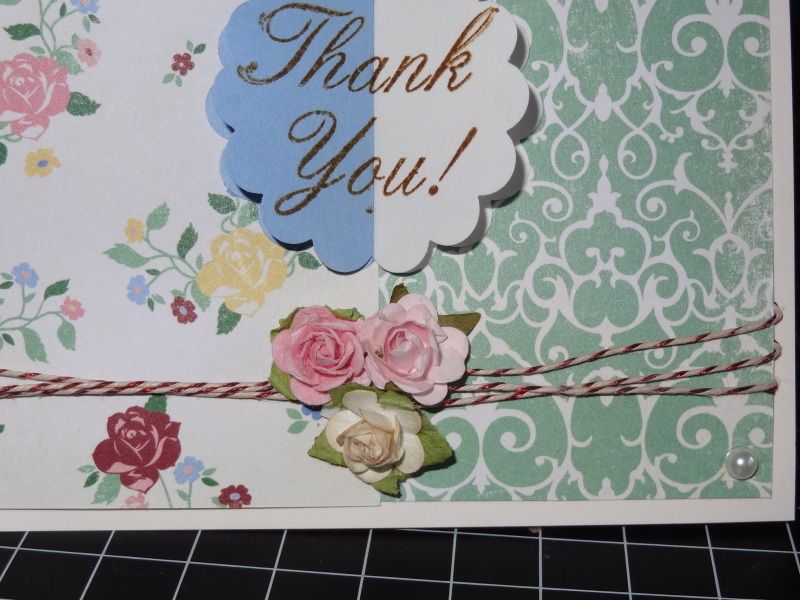
Since it's been awhile since I'd crafted, this one took me much longer than 8 minutes even though it's an incredibly simple card. I'm a little rusty on "seeing" a card in my mind. I knew I wanted to use two designer papers, twine, and flowers but the arrangement eluded me and I played with a number of different positions and sizes for the paper until I got what I wanted. Then, I needed to stamp a sentiment but couldn't find my 1 3/4" circle punch which goes with the 2" scallop. Thus, I came up with the idea of obtaining a two-color look with two of the same shape. Oh, and the flowers I had first wanted to use were way too poufy to mail all the way to Italy I feared, so I had to swap them for much smaller Primas which further threw my design out of whack. Finally, I wanted to use my Sew Easy, which took a fair bit of time.
In other news, I will have a need to send a bunch of thank yous over the next few months so I hope to make more cards to share with you soon.
Supplies
Papertrey Ink card stock
My Mind's Eye - English Garden paper collection
Twinery twine
My Pink Stamper - Spectacular Sayings Stamp Set
Prima roses
Sew Easy
Saturday, February 18, 2012
Tags, Bags, Boxes and More 2 !
I absolutely adore Pinterest. Saving ideas and pictures with a click of a mouse, brilliant! In today's post, I'm using Pinterest to show you an image of one of the a new Cricut cartridges just debuted on Hello Thursday this month. It's called Tags, Bags, Boxes and More (TBBM) 2 and looks super versatile. I got my first Cricut almost two years ago, sadly after the first TBBM cartridge was headed towards retirement. Fortunately, Cricut offered a great deal to encourage people to buy Gypsy machines--5 free cartridges included the retired TBBM. I won't say I use it super often as I'm kind of a new cartridge junkie (or at least I was before I imposed a bit of a ban on shopping a while ago), but it's a great resource for those necessary shapes. TBBM2 looks a little edgier and less basic, but that's what makes it even more exciting. Can't wait to get my hands on this one:
Source: cricutblog.org via thefishie on Pinterest
Wednesday, January 11, 2012
Christmas Card #8
I'll have to check my camera, but I think this may be the last of the Christmas cards I made this year. Since I had to get a good 3-4 dozen made by the week before Christmas, I made multiples of each one. I even had a few left over for next year. I did finish my thank you notes over the weekend, so I'll try post that design soon. This one was made using the Christmas tree from Create a Critter (without the goofy face) and a border from Winter Frolic. The distressing didn't go perfectly, but such is life.
Supplies
Papertray ink cardstock and ribbon
Recollections Glitter cardstock
Create a Critter, Winter Frolic cartridges
DCWV Holiday Collection Paper Stack - 2009 (bought online at Joann's this year)
Scrappy Mom's Stamps - Winter Wishes
Stickles
Ek Success punch
misc holiday lights
Supplies
Papertray ink cardstock and ribbon
Recollections Glitter cardstock
Create a Critter, Winter Frolic cartridges
DCWV Holiday Collection Paper Stack - 2009 (bought online at Joann's this year)
Scrappy Mom's Stamps - Winter Wishes
Stickles
Ek Success punch
misc holiday lights
Tuesday, January 10, 2012
Christmas Card #7
I think my favorite cartridge this holiday season was the Winter Frolic cartridge. When I bought it last year, I envisioned making layouts and did make a cute little mini album. (Opps, just looked back and never photographed it. Next time I dig out my holiday albums, I'll try to correct that.) Anyway, I haven't made any full-size layouts but I have made a number of cute, super-simple cards like this little mouse.
Supplies
Papertray ink cardstock
Winter Frolic cartridge
DCWV Holiday Collection Paper Stack - 2009 (bought online at Joann's this year)
misc brads
Supplies
Papertray ink cardstock
Winter Frolic cartridge
DCWV Holiday Collection Paper Stack - 2009 (bought online at Joann's this year)
misc brads
Monday, January 9, 2012
Christmas Card #6
Well, I finally broke down and bought the Just Because cartridge. I think it was that little red wagon on the box that drew me in or perhaps it was this little gingerbread man.
Supplies:
Papertay ink cardstock
Recollections Glitter cardstock
Just Because Cards Cricut Cartridge
DCWV Holiday Collection Paper Stack - 2009 (bought online at Joann's this year)
Scrappy Mom's - Winter Wishes stamp set
Peachy Keen stamps - Snow Cutie Faces
EK Success Large Journal Plate & Bracket Punch
Vintage Photo Distress Ink
misc ribbon
One final look--not the best lighting
Sunday, January 8, 2012
Christmas Card #5
Here's another 2011 holiday card using the Winter Frolic cartridge. The glitter cardstock is ordinary Recollections of Paper Company (either Joann or Michaels house paper), but really dresses up the card I think. The tag/scallop mat is a shape found on many cartridges. I had cut it as a snow background for another card, then never used it. When putting this collection of cards together it worked nicely, particularly after running it through my Cuttlebug.
Inside
Supplies:
Papertray ink cardstock
Winter Frolic cartridge
DCWV Holiday Collection Paper Stack - 2009 (bought online at Joann's this year)
"Crystal ice" Cuttlebug embossing folder
My Pink Stamper - Winter Punnies stamps set
Inside
Supplies:
Papertray ink cardstock
Winter Frolic cartridge
DCWV Holiday Collection Paper Stack - 2009 (bought online at Joann's this year)
"Crystal ice" Cuttlebug embossing folder
My Pink Stamper - Winter Punnies stamps set
Saturday, January 7, 2012
Christmas Card #4
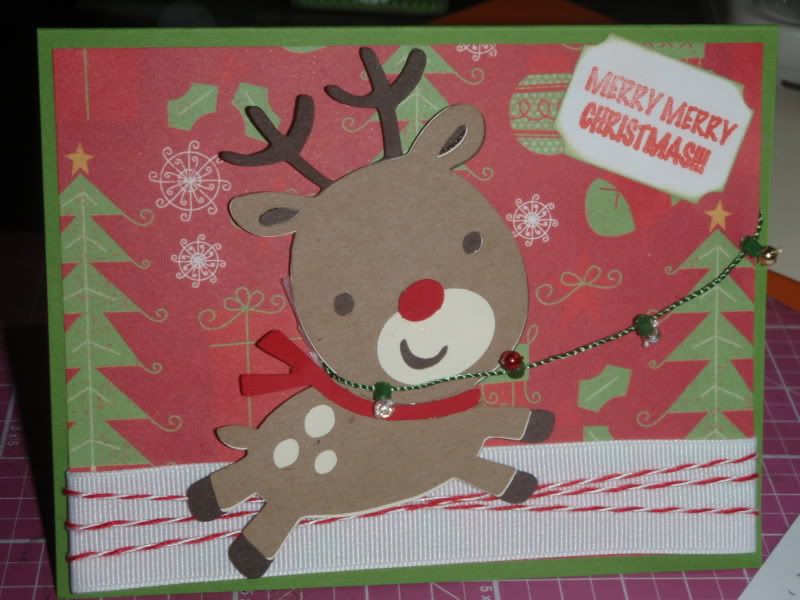
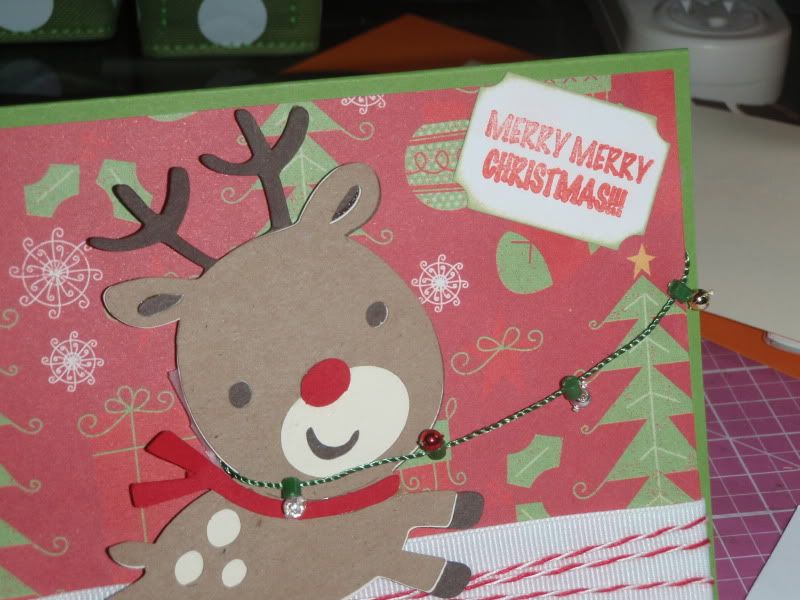
Okay, I know the first week of January's gone, but life is finally seeming to balance out. Or rather, I'm not running around chasing Disney characters, traveling, or otherwise just plain exhausted. I do have a backlog of work to do, but everything will come in time. Here's another Christmas card I made, this time using the old-faithful cartridge: Create a Critter. Please ignore the tape that's peeking out. Rest assured, I did my best to fix that before popping it in the mail.
Supplies:
Papertray ink cardstock and ribbon
Create a Critter cartridge
DCWV Holiday Collection Paper Stack - 2009 (bought online at Joann's this year)
EK Success tag punch
Mr. Cricut Crazy - Christmas Christmas stamps
Supplies:
Papertray ink cardstock and ribbon
Create a Critter cartridge
DCWV Holiday Collection Paper Stack - 2009 (bought online at Joann's this year)
EK Success tag punch
Mr. Cricut Crazy - Christmas Christmas stamps
Subscribe to:
Posts (Atom)